Passbolt: Open-Core alternative to 1Password Business in 2026
Passbolt is a team password manager with OpenPGP encryption, granular per-folder permissions and auditing, designed specifically for organizations that need fine-grained control.
Core is open source, but advanced features or enterprise support may be behind a paid tier — check the license.
Audit Snapshot
View notes →License — Matches GitHub
GitHub — Active
Latest release — v5.16.0 · 26 days ago
Docker Compose — Partial
Production — Not production-tested by AltFreeStack
Passbolt vs. 1Password Business
Pros
- Specifically built for team access control
Things to consider
- Initial GPG setup is more technical than Vaultwarden's
Quick Docker installation guide
Copy this docker-compose.yml, adjust the example passwords and run docker compose up -d on your server. See the full step-by-step guide →
💡 Official SaaS or self-hosted with AltFreeStack?
- On the official cloud: a recurring monthly fee and usage limits on 1Password Business.
- On your own VPS: the core is free to self-host on your own server — no more monthly SaaS fee, though some advanced features stay behind a paid plan.
version: "3.9"
services:
  passbolt:
    image: passbolt/passbolt:5.16.0-1-ce
    restart: unless-stopped
    ports:
      - "443:443"
    environment:
      - DATASOURCES_DEFAULT_HOST=passbolt-db
      - DATASOURCES_DEFAULT_USERNAME=passbolt
      - DATASOURCES_DEFAULT_PASSWORD=change-me-mysql-password # must match MYSQL_PASSWORD below
    depends_on:
      - passbolt-db
  passbolt-db:
    image: mariadb:11
    restart: unless-stopped
    environment:
      - MYSQL_ROOT_PASSWORD=change-me-mysql-root-password # REQUIRED: generate a random secret before first run
      - MYSQL_DATABASE=passbolt
      - MYSQL_USER=passbolt
      - MYSQL_PASSWORD=change-me-mysql-password # REQUIRED: generate a random secret before first run
    volumes:
      - passbolt_db_data:/var/lib/mysql
volumes:
  passbolt_db_data:
🚀 Deploy in 1 command
Recommended for beginnersCopy this single command and paste it into your freshly created VPS's console (Vultr, DigitalOcean...). It downloads the script, prints it to your screen so you can see exactly what it's about to do (never a blind direct pipe), and only then installs Docker if needed, writes the files with secrets already generated, and starts everything — no nano, no pasting code blocks.
curl -sSL ".../api/deploy?stack=passbolt" -o deploy.sh && cat deploy.sh && bash deploy.shThis docker-compose corresponds to an actively maintained project — last commit 4 days ago.
This docker-compose not working for you? Report it on GitHub →Technical profile
- License
- AGPL-3.0
- Category
- Password Managers
- Replaces
- 1Password Business
- Tech stack
- PHPCakePHPMySQL
Under the hood
Database
MySQL
Language
PHP
Platforms
Web · Desktop (browser extension) · Mobile (iOS/Android)
Key features
- End-to-end OpenPGP encryption
- Granular folder and group permissions
- Full access auditing
Preview
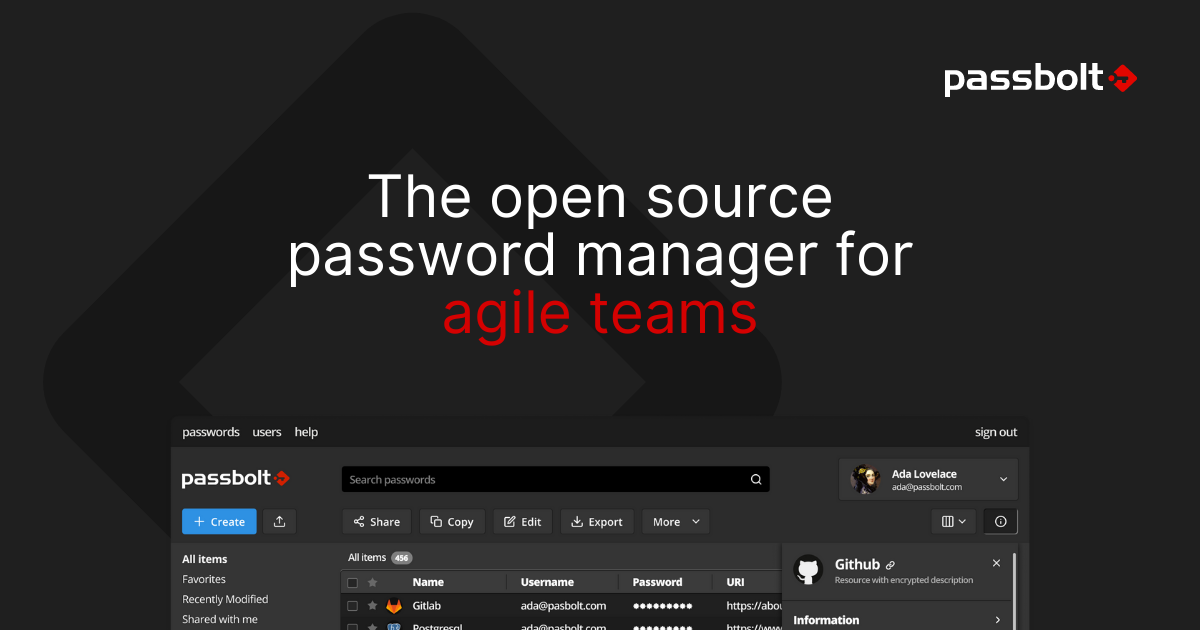
Public image provided by Passbolt on its own website.
💾 Backups in 3 steps (Day 2)
As long as the ./data folder (the "volume" mapped into the container) exists on your server, your data survives any restart or container update — that's the only thing you need to back up.
1. Create a compressed backup on the server
tar -czvf backup-$(date +%F).tar.gz ./data2. Download it to your computer
From your computer's terminal (not your server's):
scp root@YOUR_IP:~/app/backup-*.tar.gz ./3. Restore in case of emergency
tar -xzvf backup-file.tar.gz🌐 Connect your domain with free SSL
Step 1 — Set up the DNS
In your domain registrar's dashboard (Cloudflare, Namecheap, GoDaddy...), create a record:
- Type
- A
- Name/Host
- @ (root domain) or a subdomain, e.g. app
- Content/Value
- Your server's public IP
Wait 5 to 15 minutes for the record to propagate across the internet.
Step 2 — Automatic reverse proxy with Caddy
One single file, no Nginx config or manual certificates — Caddy issues and renews Let's Encrypt HTTPS on its own.
Create a file called Caddyfile:
yourdomain.com {
    reverse_proxy localhost:443
}
Start Caddy with this command (pulls the image and runs it in the background):
docker run -d -p 80:80 -p 443:443 --name caddy --restart always -v $PWD/Caddyfile:/etc/caddy/Caddyfile -v caddy_data:/data caddy